When it comes to Agile development, user story mapping is a valuable technique that helps teams visualize and prioritize their work. It’s a collaborative activity that allows product owners, developers, and other stakeholders to gain a shared understanding of a project’s scope, while also enabling efficient communication and iterative development.
And so today, we’ll delve into the best practices for user story mapping in Agile development, and explore how it can drive project success.
TLDR; Contents
What is User Story Mapping?
Before we delve into best practices, let’s clarify what user story mapping is and why it’s essential in Agile development.
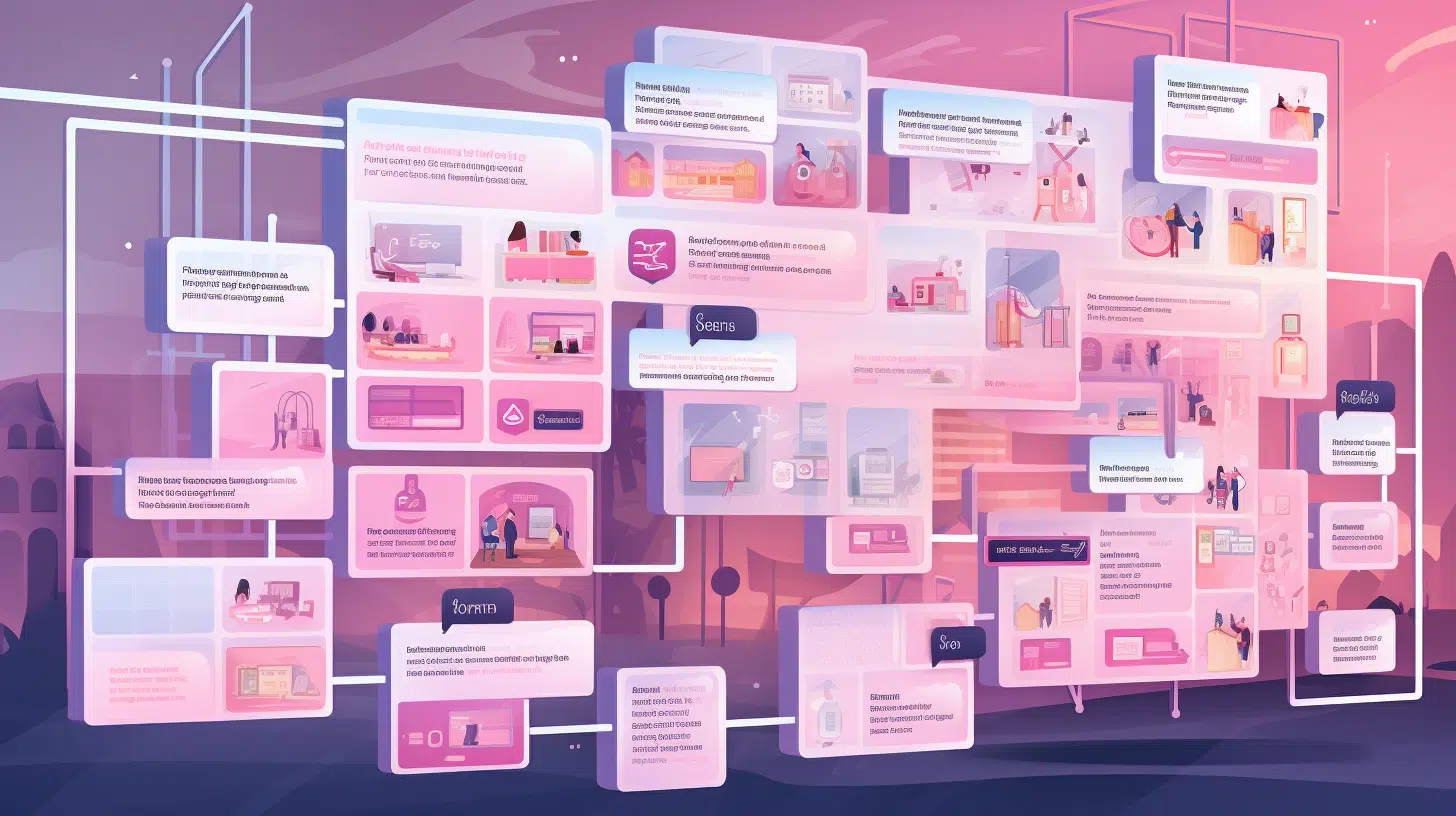
User story mapping is a technique used to create a visual representation of a product‘s user stories, features, and their prioritization. It was introduced by Jeff Patton as a way to provide a high-level view of the product and to facilitate conversation and collaboration within Agile teams.
A user story is a simple, user-focused description of a feature or functionality from an end-user’s perspective. Story mapping takes these user stories and arranges them in a logical sequence, creating a visual map of the user’s journey through the product. The horizontal axis typically represents the user’s workflow or timeline, while the vertical axis represents the priority or importance of different user stories.
Since this is a dynamic process, the map can evolve over time as the team’s understanding of the product and user needs deepens.
The Benefits of User Story Mapping
User story mapping offers numerous benefits in Agile development. Firstly, it helps ensure that everyone involved in the project has a clear and shared understanding of the product’s scope. Additionally, the visual representation allows teams to prioritize work effectively, focusing on what matters most to users. By aligning the team around a common goal, it reduces misunderstandings and conflicts.
Moreover, user story mapping facilitates adaptability, allowing teams to respond to changing requirements and feedback. The map also provides transparency into the project’s progress and priorities, which is crucial for stakeholders and team members. Lastly, by breaking down features into smaller user stories, development becomes more manageable and efficient.
Best Practices for User Story Mapping
Now that we understand the fundamentals, let’s explore some best practices and illustrate them by building an imaginary e-commerce website called TrapezoidVaccuum.
1. Involve the Right Stakeholders
Story mapping should be a collaborative effort. So, ensure that all relevant stakeholders are present, including product owners, developers, designers, and end-users, if possible. Remember, each perspective adds value to the conversation and helps create a more comprehensive map.
2. Start with a Clear Goal
Define the purpose of your story mapping session. Are you mapping an entire product, a specific feature, or a part of a project? Having a clear goal in mind will keep the session focused and productive.
TrapezoidVaccuum Example:
- Goal: Create a user story map for the core features of the e-commerce website.
3. Prepare User Stories in Advance
Prior to the mapping session, have a list of user stories ready. And, stories should be written in a structured format, such as “As a [user], I want to [action], so that [benefit].” Well-defined user stories are essential for effective mapping.
TrapezoidVaccuum Example:
Before the mapping session, you have a list of user stories prepared:
- As a customer, I want to browse products by category.
- As a customer, I want to search for products by keyword.
- As a customer, I want to view product details.
- As a customer, I want to add products to my shopping cart.
- As a customer, I want to proceed to checkout.
- As a customer, I want to make a payment.
- As a customer, I want to receive an order confirmation email.
4. Organize User Stories Logically
Arrange the user stories in a logical sequence, following the user’s journey through the product. Start with the initial user interaction and progress from there. This step helps the team understand the flow of the product and how different features fit together.
TrapezoidVaccuum Example:
- Left to Right: This represents the user’s workflow from start to finish.
5. Prioritize Stories Vertically
Use the vertical axis to represent the relative priority of user stories. Stories at the top of the map are considered higher-priority items, while those lower on the map are less critical. This visual representation helps teams focus on what’s most important.
TrapezoidVaccuum Example:
Use the vertical axis to prioritize the user stories. Place higher-priority stories higher on the map:
Higher Priority
| Browse Products
| Search for Products
| View Product Details
| Add Products to Cart
| Proceed to Checkout
| Make a Payment
| Receive Order Confirmation
Lower Priority
6. Collaborate and Discuss
Engage in discussions as you arrange user stories. This is an opportunity to clarify any uncertainties, identify dependencies, and gather insights from the team. Ergo, collaboration is key to ensuring a shared understanding of the project’s scope.
TrapezoidVaccuum Example:
- The team discusses the importance of the search feature and decides to move it up in priority because it’s crucial for user convenience.
- There’s a discussion about the need for guest checkout and registered user checkout, which leads to additional user stories for these options.
7. Be Open to Changes
User story mapping is not a one-time activity. Therefore, be open to revising the map as the project progresses and the team’s understanding evolves. It’s a living document that should adapt to changing requirements and user feedback.
TrapezoidVaccuum Example:
During the discussion, you realize that you missed a user story related to user registration and login. You add it to the map.
8. Use Visual Aids
Enhance your user story map with visual aids like sticky notes, markers, or digital tools. This makes it more engaging and easier to follow, especially in remote or distributed teams.
TrapezoidVaccuum Example:
To make the user story map more engaging, you use sticky notes to represent each user story. You also use different colors to denote the status of each story (e.g., not started, in progress, completed).
9. Slice User Stories Appropriately
Ensure that user stories are small enough to be completed in a single sprint. Overly large stories can lead to delays and hinder progress. If a story is too large, consider breaking it down into smaller, more manageable parts.
TrapezoidVaccuum Example:
You notice that the “Make a Payment” user story is quite large, involving multiple payment methods. To maintain sprint-sized user stories, you decide to break it down into smaller stories such as “Credit Card Payment” and “PayPal Payment.”
10. Keep the Map Visible
Once the user story map is created, make it visible to the entire team. This promotes transparency and keeps everyone aligned with the project’s goals and progress.
TrapezoidVaccuum Example:
After the user story map is created, you post it in a prominent location, whether in a physical space or in a digital tool, where the entire team can refer to it.
11. Iterate and Refine
As you complete sprints and gather feedback, revisit your user story map. Adjust priorities, add new stories, and remove outdated ones. Iteration is a core principle of Agile development, and your user story map should reflect this.
TrapezoidVaccuum Example:
As you progress through sprints, you update the user story map to reflect the current status of each user story. As stories are completed or priorities shift, the map evolves accordingly.
12. Empower the Product Owner
The product owner plays a critical role in user story mapping. They should take an active part in the process, ensuring that the map aligns with the product vision and customer needs.
TrapezoidVaccuum Example:
The product owner takes an active role in the mapping session, ensuring that the map aligns with the product vision and customer needs. They make decisions based on user feedback and market trends.
13. Monitor Progress
Use the user story map to track progress and see how completed stories align with the overall vision. Regularly update the map to reflect the current state of the project.
TrapezoidVaccuum Example:
The team regularly updates the user story map with the status of each user story, indicating which are completed and which are in progress. This provides transparency into the project’s progress and priorities.
By following these best practices and using this practical example, you can effectively create and utilize a user story map to guide the development of your e-commerce website. This visual representation ensures that the team has a shared understanding of the project’s scope and priorities, leading to a more efficient and successful development process.
To sum it up
User story mapping is a powerful technique in Agile development that boosts communication, collaboration, and project success. With the best practices outlined in this article, your team can create user story maps that foster a shared understanding, prioritize effectively, and streamline development.
As a living document, the user story map evolves with the project, ensuring adaptability and alignment with user and business needs. Make user story mapping a fundamental tool in your Agile toolbox and witness your projects thrive!
Want some help with all of this? Reach out to us—we’d love to talk 🙂